
![]()
![]()
By default, McAfee will automatically update at 2am everyday. That's perfect for desktop computers that are always left on and connected to the internet. However, for laptops, this means that it McAfee may not update. This can be easily changed by following the instructions below.
| To check if McAfee is updated | |
| 1. In the System tray, usually located in the lower right corner of the desktop near the time, look for the McAfee shield icon. | |
| 2. Right-click on the McAfee icon and choose "About VirusScan Enterprise" | 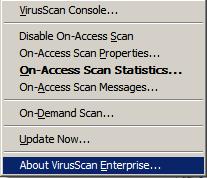 |
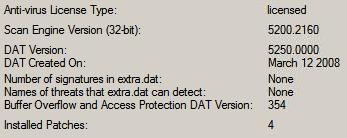
| 3. Look for the DAT Created On: line. The date listed should be within 1-2 days. If not, then you should manually update and maybe change the
default settings for when McAfee will update. Also note the line "Installed Patches". If this is N/A or lower than 2, then contact the ude.hu.htam@pleh |
 |
| To Manually update McAfee | |
| 4. In the System tray look for the McAfee shield icon and right-click on it. Choose Update Now... | 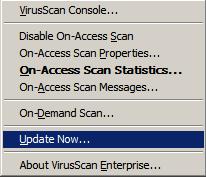 |
| 5. The McAfee update window will appear and start the update process. This can take up to several minutes to complete. Once complete, the disabled Cancel button will be enabled and change to Close. The window will automatically close after 30 seconds if the Close button is not clicked. | 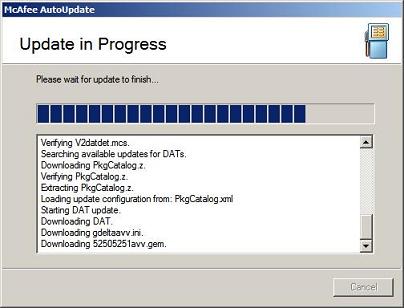 |
| To change the default McAfee autoupdate setting | |
| 6. In the System tray look for the McAfee shield icon and right-click on it. Choose VirusScan Console... | 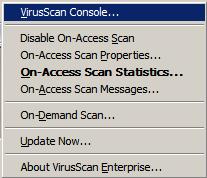 |
| 7. The VirusScan Console window should appear At the bottom of the window is the Task AutoUpdate and under the Status column it will show what the update setting is and the last column shows when the last time it ran, if ever. Double-click the AutoUpdate Task. | 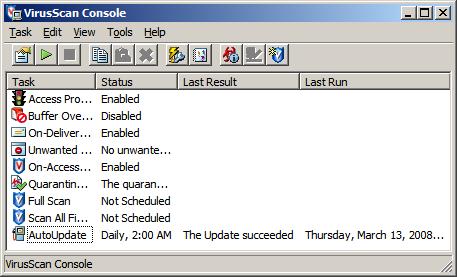 |
| 8. The AutoUpdate Properties window should appear. Near the bottom of that window are 2 buttons, Schedule... and Update Now. Click on the Schedule button. | 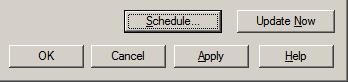 |
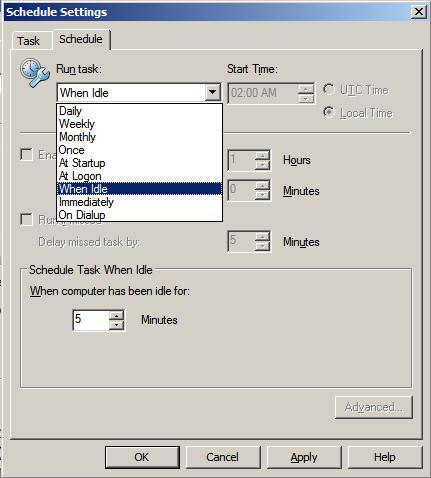
| 9. The Schedule Settings window should appear. Click on the Schedule tab and you see something similar to the image on the right. For Desktops, I recommend leaving the default setting for everyday at 2am. If this is a home computer where you may turn off the compter, then I recommend just changing the time to when you know the computer will be turned on and connected to the internet. For laptops, I recommend changing the Run Task to "When Idle" and change the "When computer has been idle for" to 5 or more minutes. Although you might be tempted to use "At Startup" or "At Logon", this can severly slow down a laptop as most laptops already have too many tasks to run at startup. The recommended setting will wait until you are not using the laptop, and if it is connected to the internet (wired or wireless), it will update. Click OK twice to close the open windows and then close the VirusScan Console window. |
 |
| To run McAfee On-Demand Scan to check for viruses | |
| 10. Right-click on the McAfee System Tray icon and choose "On-Demand Scan..." | 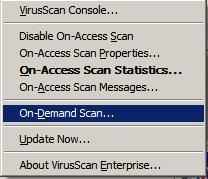 |
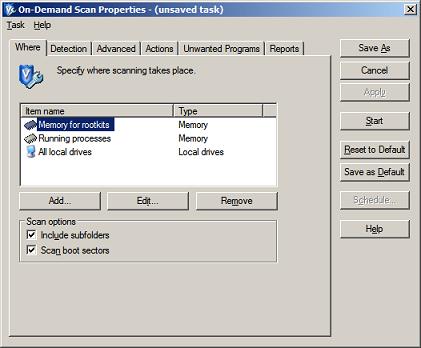
| 11. The On-Demand Scan Properties window should appear. Using the default settings, McAfee will check everthing on the computer, so just click
on the Start button. The scan will take a long time, longer if you use the computer. During the scan, if any malicious content is found, you may be given a choice of deleting, quarantining or cleaning the item. Quarantining a file usually means McAfee moves it to a folder named Quarantine which is usually on C:\. |
 |
| If you have an application or files that you know and trust, but McAfee thinks is malicious (known as a False-Positive) you can exclude files and/or folders from being scanned by McAfee. Here are the instructions to do this. | |
| 1. In the System tray look for the McAfee shield icon and right-click on it. Choose VirusScan Console... | |
| 2. Double-click on the On-Access Scanner task. | 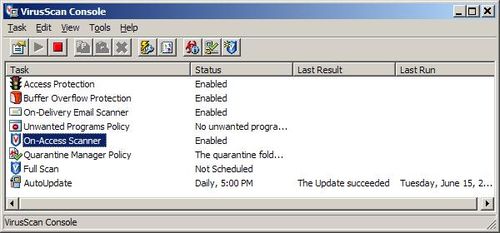 |
| 3. The On-Access Scan Properties window should appear. Slect the All Processes icon on the left and then select the Exclusions tab and then click on the Exclusions button. | 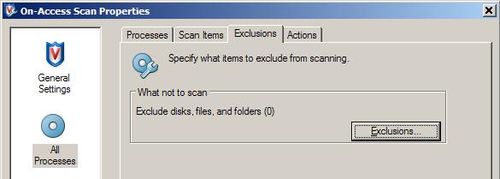 |
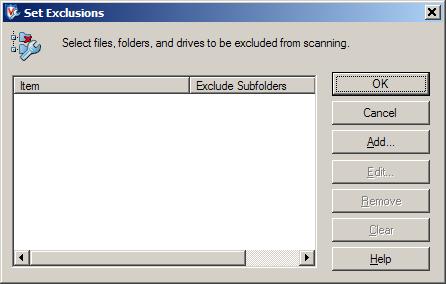
| 4. The Set Exclusions window should appear. If you have not set exclusions before, it should be blank like the sample picture. If you see some other items listed, you might check to make sure that these exclusions are valid. Click the Add... button. |
 |
| 5. The Add Exclusion Item window should be present now. Use the default "By name/location" choice and click on the Browse... button. | 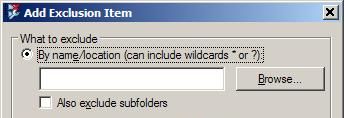 |
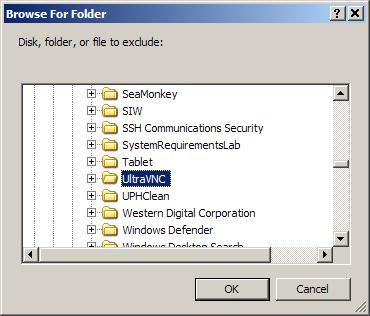
| 6. In the Browse For Folder window, select the file or folder that you want McAfee to exclude from scanning. In my example, I am selecting the UltraVNC folder in the C:\Program Files folder. Choose the folder where your specific application is located. When done, click the Ok button. |
 |
| 7. Back in the Add Exclusion Item window, the location you choose should be listed. If you chose a folder, if that folder has sub-folders, then you should also be sure to check the "Also exclude subfolders". |  |
| 8. Click the Ok button and you should be back at the Set Exclusions window. You should now see the exception you added. Check the "Exclude Subfolders" column to make sure that it is correct. | 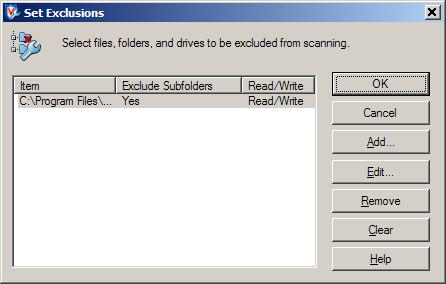 |
| 9. Click the Ok button and you should be back at the On-Access Scan Properties window. Here, you can check the number of exclusions and then Click the Ok button to close. You can close the VirusScan Console and you are finished. | 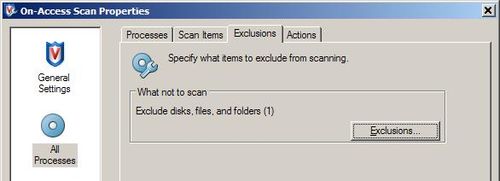 |
For further details or other instructions, please use the McAfee Help from the VirusScan Console window.
![]()
![]()