![]()
![]()
![]()
If you did not have any AntiMalware software installed and your Windows PC is infected, it can be near impossible to properly fix while in Windows. Even if you did have an AntiMalware installed, if it was not updated, then newer malicious software can take control and prevent any attempts to remove it while your infected Windows System is running.
The best way to clean an infected OS, is to boot your PC using another clean OS with AntiMalware software. This is much easier to do now with bootable USB drives and lots of choices in what AntiMalware to use.
One of the easiest ways to do this is to use a Windows software called YUMI (Your Universal Multiboot Installer). This tool allows you to take almost any USB flash drive and load one or more bootable OSes to fix almost any PC problem. The USB drive becomes a Swiss Army Knife tool for fixing PCs. With just 1 USB drive, you can choose to run a memory (RAM) test, scan for hard disk errors, run AntiMalware software, run an alternate OS, run a partition manager or run hard disk cloning software.
Warning! You will need access to another PC that is not infected in order to follow all the instructions here. Some infections can prevent you from running YUMI or can infect the USB drive so that you might infect other computers, which is why you should not try to do any of this from the infected computer.
You can download YUMI from here. Scroll down below the download link for YUMI and click on the link "List of Installable Live Linux Distributions" to get the list of USB Bootable OS's.
I recommend clicking on the following links to get the downloads for:
Note: Other available AntiVirus choices are Avira, AVG and G DATA. Acronis AntiMalware is also available. I have not used Acronis or G Data, so I not sure how useful they are. Both AVG and Avira had problems on several systems with not being able to update themselves with the latest virus definitions due to not being able to connect to the internet.
Sometimes the AntiVirus companies change their websites and the above links may no longer work. If so, then use the main company website link, look for and use the search box to search for "rescue cd". Then click on one of the search results to get a webpage that gives you a link to download the ISO image file.
![]()
Before running YUMI, you will need a USB drive, preferrably 2GB or larger in capacity. The more tools you put on it, the bigger the USB drive needs to be. The USB drive needs to have a FAT16 or FAT32 filesystem. I find it is best to have YUMI format the drive the first time you use it. This way it has the proper file system format and avoids any possible problems Insert the USB drive. If this is the first time the drive was plugged into your PC, or that particular USB port, then Windows will take a little time to install drivers for it. Wait for it to be ready before procceding.
Now, run the YUMI executable file you downloaded and click to accept the License Agreement. Then you should see the main Yumi window.
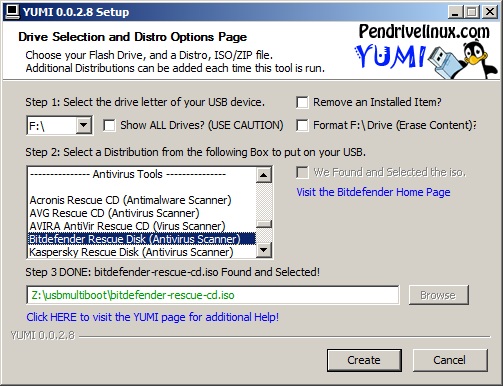
First, select your USB drive. For me, this is the F:\ drive. For the first time you use this, I suggest enabling the "Format Drive" option. Then you can scroll thru the list of distributions and chose one of the Antivirus tools you downloaded. In the picture aboce, I selected Bitdefender and since I saved the YUMI file in the same folder where I saved the bitdefender-rescue-cd.iso file, YUMI automatically found the ISO file and all you have to do is click the Create button.
YUMI can usually find the proper file, but sometimes the filename is not what YUMI expects and you may see the following:

In this case, click the Browse button and choose the file from the list. If the list is empty, you can type in the first letter of the filename in the filename box and it should
appear. Then you can click on the Open button to have YUMI select it.
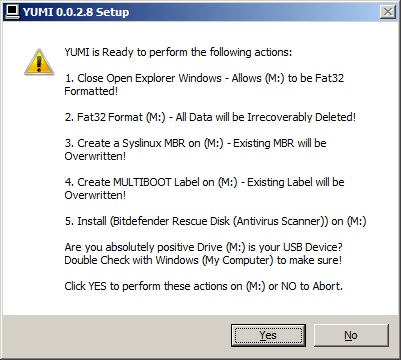
You might see the following window that tells you what YUMI will do and asks you to click Yes to continue. If so, click Yes.
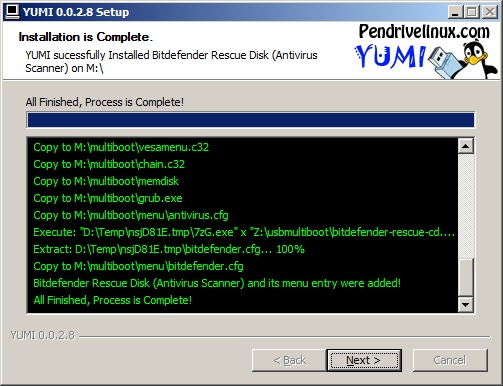
YUMI will start its work and look something like this:
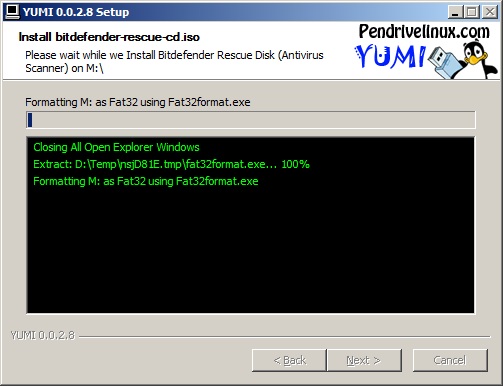
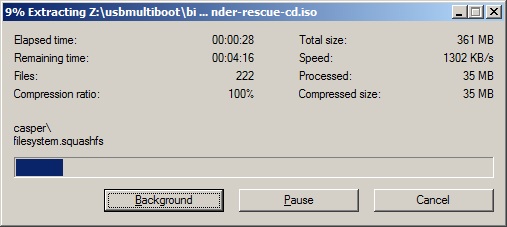
While YUMI extracts the contents of the ISO file and places them on the USB drive, you'll see the following:
When YUMI finishes, it will tell you:
To continue adding software tools to the drive, once you click the Next button, you'll see the following window:
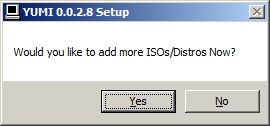
You'll want to have at least 2 or 3 AntiVirus tools to boot from to be sure that most infections are caught and cleaned/deleted.
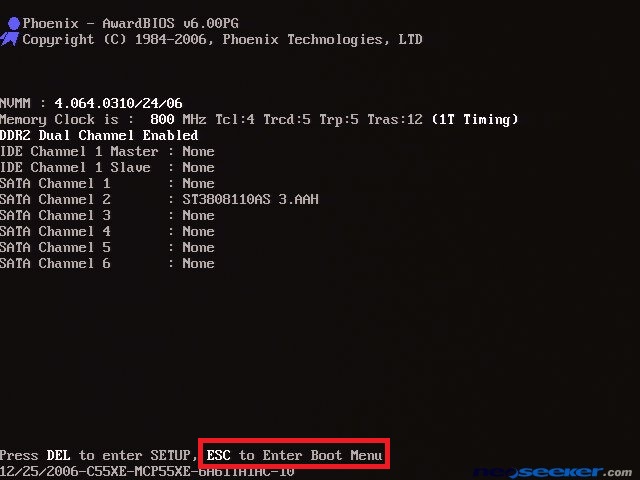
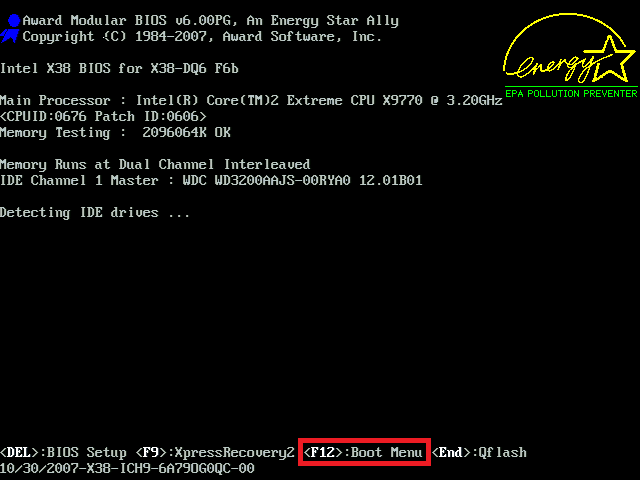
With the infected computer shut down/turned off, plug in the USB drive and turn on the PC. You will only have a few seconds to press the proper key to change the boot device (what
the computer will boot from). Each manufacturer uses a different key to bring up the boot menu. Common keys are <F8>, <F12>, <F11> or
<Esc>. This is sometimes shown somewhere in the first screen, the BIOS screen. Some examples are below:
If you see the Windows boot screen, you didn't press the right key in time. Below are the XP and Windows 7 boot screens.
If you have a Reboot/Restart button, press it to reboot and try again. If not, then press the Power button (you may have to press and hold the power button, if it doesn't shutdown.)
When you get the boot menu to appear, it may look like one of the following:
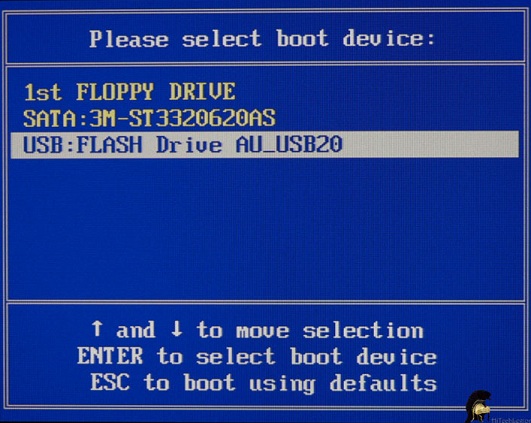
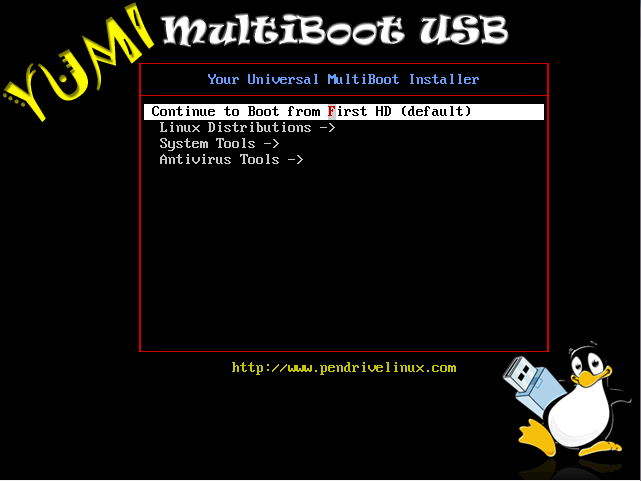
You will want to select the USB or Removable Device and press the <Enter> or <Return> key. Then you should see the YUMI Boot Menu.
![]()
After a bad infection, removing the infection can sometimes cause your system to be unbootable or unstable. The reasons for this vary, but are due to the fact that viruses either replace or modify system files that are necessary for Windows to operate. Most AntiMalware know how to deal with this and repair or replace the infected system file from a backup file. Sometimes, however, this just doesn't complete successfully. If this happens, it can sometimes be fixed by using the computers original Windows CD/DVD to repair the system. It does not always work and may require a complete Windows re-installation. So, you are now duly warned. Also, once a computer is infected, the chances or another infection are increased. The best solution is to clean the infection, backup your files and settings, wipe the hard drive and re-install Windows, and then restore your files and settings.
![]()
Select the Antivirus Tools using the arrow keys and press the <Enter> or <Return> key. Then you will need to select one of the Antivirus tools you installed and it should boot. Some of the AntiVirus tools will automatically start updating and scanning your system immediately and some will not. They are usually pretty easy to navigate around to update and then scan your system. To update, you will need to have the network cable plugged in or the wireless turned on. The Antivirus app should attempt to connect to the internet and download the latest updates, however sometimes the app cannot figure out how to use the wired/wireless network and therefore won't be able to update. If this happens, there is not much you can do but run the scan without the updates and hope that it can still catch the infected files or you can cancel the scan and reboot in order to try one of the other AntiVirus apps.
To run more scans, reboot the computer and don't forget to press the right key to bring up the boot menu to boot the USB drive. Then select another AntiVirus app to run.
Once you finish all the scans, shutdown the computer. Once off, unplug the USB drive and wait 10 seconds before turning it back on. While the BIOS screen is up, press the
<F8> key a few times to bring up the Windows Boot Menu. If pressing the <F8> key brings up the Bios Boot Menu, then choose the computer hard disk and press the <Enter> or
<Return> key and then immediately press the <F8> key a few more times. You should see the Windows XP or Windows 7 Boot menu screen, as in the pictures below.
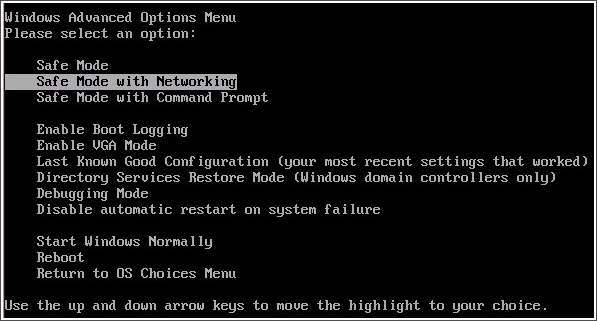
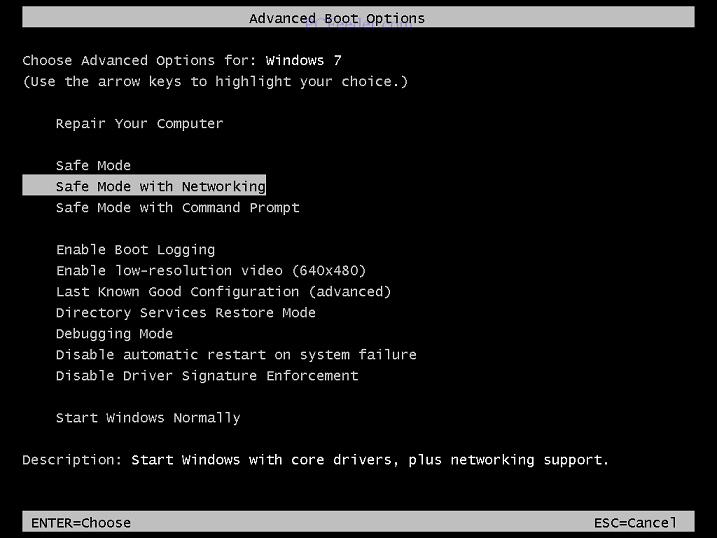
Select the Safe Mode with Networking option so that when the system boots up, you can check the startup items and get to the internet to update and/or download and install your AntiMalware. That, however is to be covered in another webpage in the future.
![]()