
![]()
![]()
Before doing any work on any computer, it's best to know the details. However, if you're not a computer enthusiast or a techie, then finding this information can be challenging.
Here's a simple way to display the information and also to save it to a file so that you can email it to someone that can make use of it.
Since keyboards are different, when I refer to the <Return> key, it can be either the Return or Enter key.
| For Simple information: | |
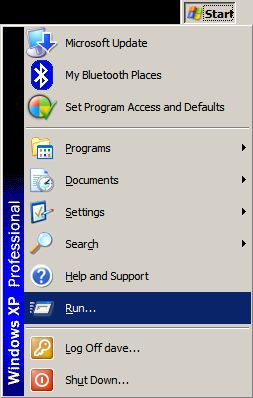
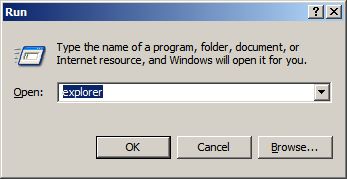
| 1. First, we need to get to the Command Prompt. To do so, Go to the Start Menu button and click on Run... or Press and hold the <Windows> key and then press the <R> key. |
 |
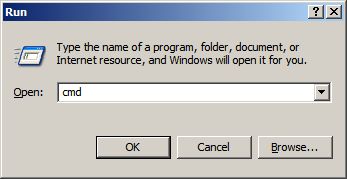
2. Next, type in:cmdand click the Ok button or press <Return>. |
 |
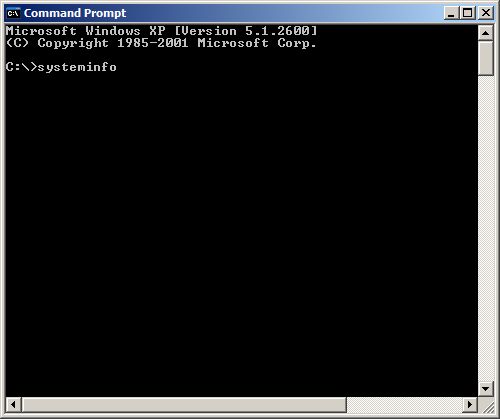
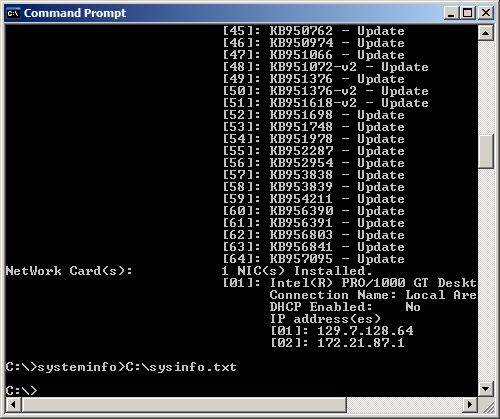
3. The Command Prompt window should appear. Type in: systeminfoand then press <Return> |
 |
| 4. You should see the details of your system flash by. Since it also includes all updates, near the end of the list, that is usually all you will see. You can use the arrow keys or the scrollbar to scroll up to see the information. | 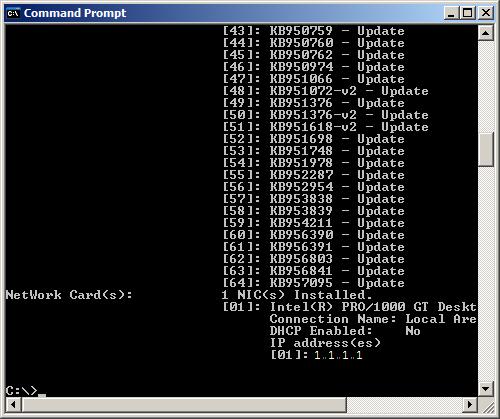 |
5. To save this information to a file, type in:systeminfo>C:\sysinfo.txtThe output will not display in the Command Prompt window and will instead go into the file C:\sysinfo.txt. |
 |
| 6. Now you can email that file to your tech person. It is located in the root directory of the C: drive (C:\). | |
Sometimes, the simple information just isn't enough. A Tech might need even more details. Here's the instructions for that.
| For Expert information: | |
| 1. If you already have the program CPU-Z installed, skip to Step # 10. | |
| 2. Open Explorer (not Internet Explorer). Double-click on the My Computer icon on the Windows Desktop or Follow Step #1 to bring up the Command Prompt and type in: explorerand click OK. or Press and hold the <Windows> key and then press the <E> key. |
  |
| 3. Go to the C: drive and open up the Program Files folder. Right-click in the file window and Choose New and then Folder. |
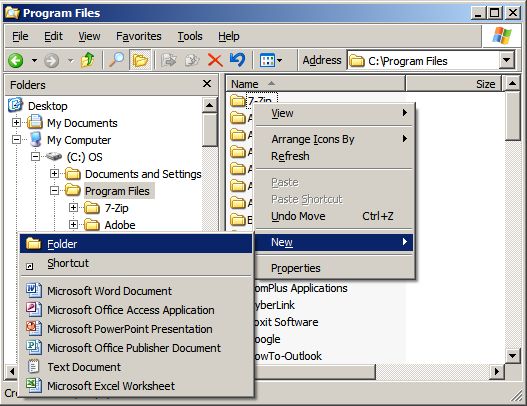 |
| 4. Name the folder: CPUZ and press <Return>. | |
| 5. Download the CPU-Z Zip file from http://www.cpuid.com/cpuz.php.
The download is linked under the area marked Download Latest version. Save the file to the folder you just created.
The location is C:\Program Files\CPUZ CPU-Z does not need to be installed, it just needs to be un-zipped. |
|
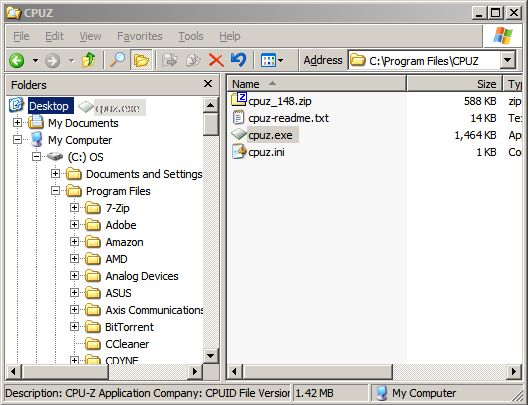
| 6. Extract/Unzip the Zip file to that folder. Double-click to unzip it. You should see the following files after extracted. | 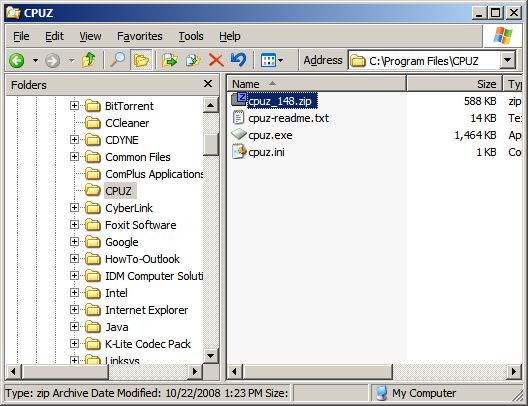 |
| 7. Put the cursor on the file cpuz.exe and right-click and hold the button, and drag it to the Desktop folder at the top of the left window.
As you right-click-drag the file to the folder window, each folder will be highlighted to show you the selected folder. The folder list will
automatically scoll when you get to the top or the bottom of the window. Once you move to the Desktop
folder, release the right mouse button. While dragging the file, you should see a dimmed image moving with the cursor. |
 |
| 8. When you release the right mouse button, a small popup menu should appear, like in the picture. If you released the right mouse button to soon or in the wrong folder, then at the bottom of the popup menu is an option to cancel, then you can start over. If you dragged cpuz.exe to the Desktop folder correctly, then choose Create Shortcuts Here to put an icon on your desktop. | 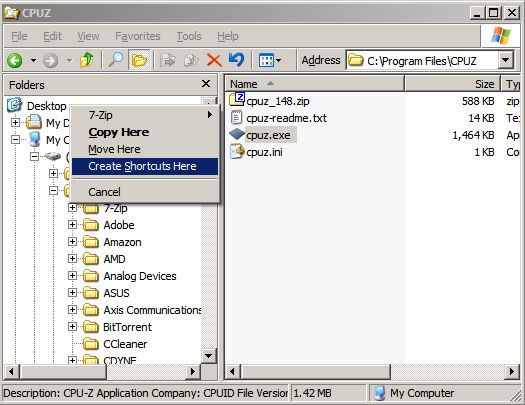 |
| 9. The CPUZ program icon looks like this. Look for this icon on your Desktop. |  |
| 10. When you run the file, it will take a short time to gather all the information. You will see a small window like the one to the right. |  |
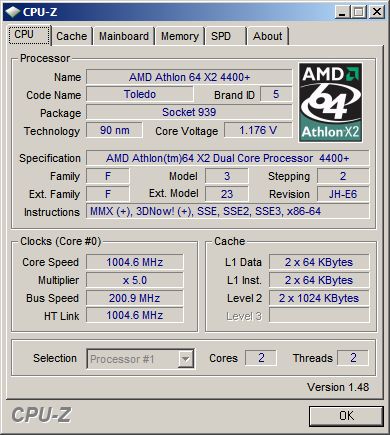
| 11. When it gets all the inormation it needs, CPU-Z will display the following window. The exact details will be different for each computer. |
 |
| 12. Click on the About tab. Under the Tools section, there are 3 buttons. The Save Report (.txt) button, the Save Report (.html) button and the Validation button. | 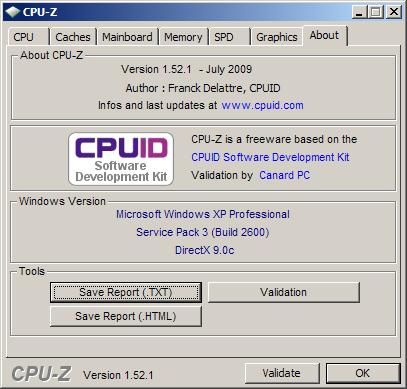 |
| 13. Click on the Save Report (.html) button and a Save As window will appear. Switch to a location that you want to save the file to and then click the Save button. Remember where you save it. | 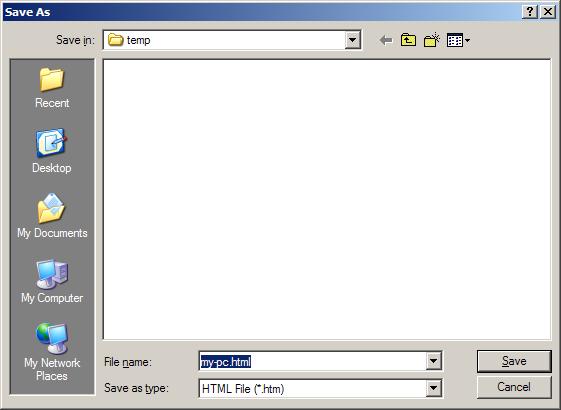 |
| 14. Now you can email that file to your tech person by attaching the file in the email. | |
![]()
![]()