
Mathematics Department
The Information below is intended for UH Math staff and faculty. Although this information may be useful to others, requests for help from the
Administrators is only supported for UH staff and faculty. Please do not email the Administrators unless you are working for the UH Math Department.

It is easy to install, but using all the default settings can leave you PC open to an intruder. Here are my recommended steps to make it more secure.
Since keyboards are different, when I refer to the <Return> key, it can be either the Return or Enter key.
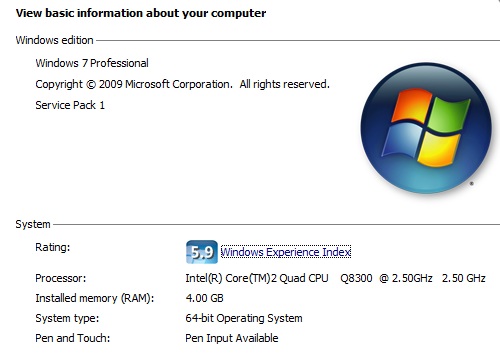
1) First, if you are running Windows Vista or Windows 7, you need to know if you are running the 32-bit or 64-bit version of the OS. To find
out, either right-click on the Computer icon on the desktop and choose Properties
or
Press and hold the <Windows> key and then press the <Pause> key.
The System windows should popup. Look for the System Type, which is
64-bit in the picture to the right. |
 |
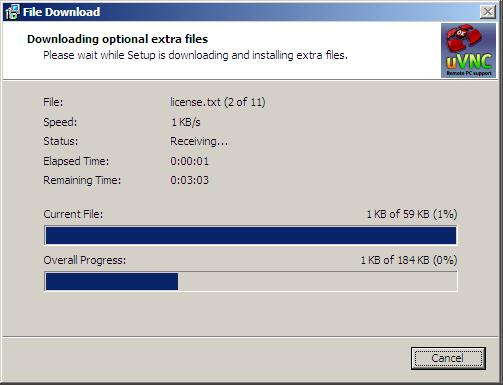
| 2) Next, download either the 32-bit version for 32-bit versions of Windows, or the
64-bit version. for Windows 64-bit. |
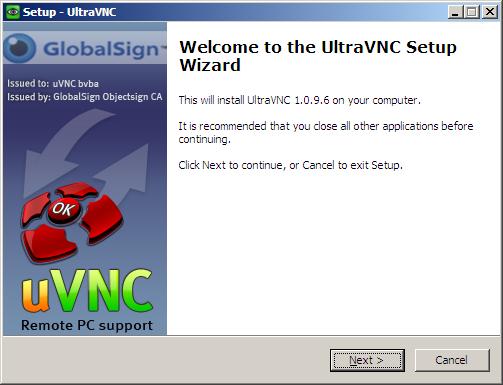
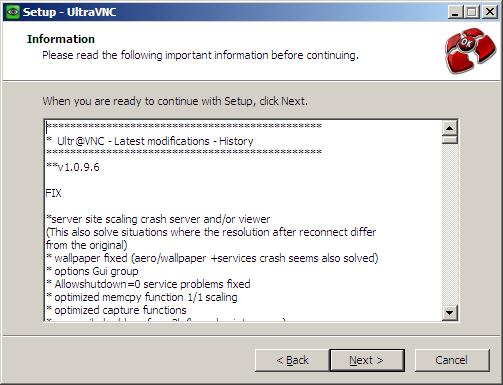
| 3) Run the installer and you should see the following window. Click Ok. |
 |
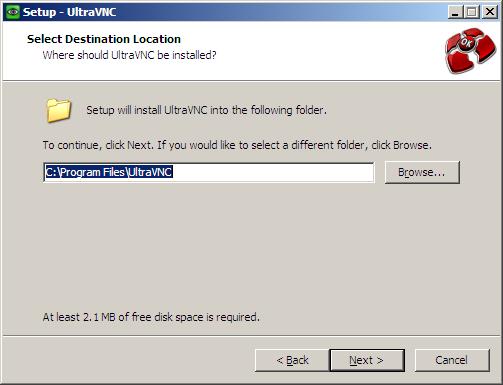
| 4) Click Next. |
 |
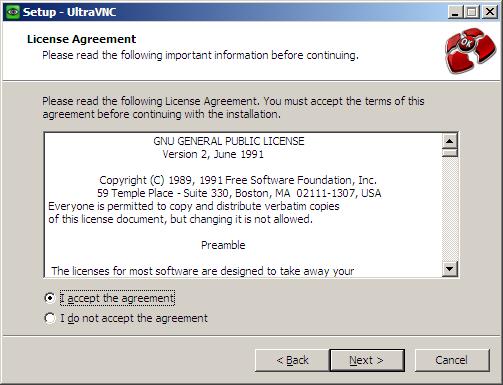
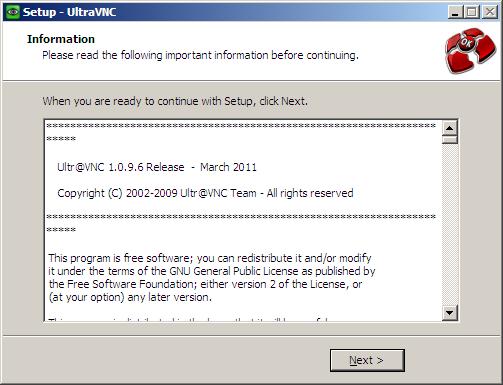
| 5) Click on the "I accept the agreement" and the click Next. |
 |
| 6) Click Next for each of the following windows. |
 |
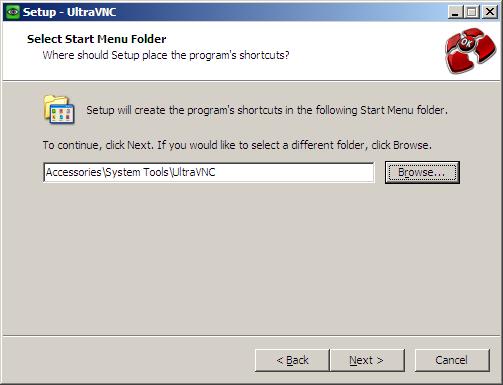
| 7) Next, click on the Browse button and move to the Accessories\System Tools folder and then click the Select button. The window should
look like the example picture. Click Next. |
 |
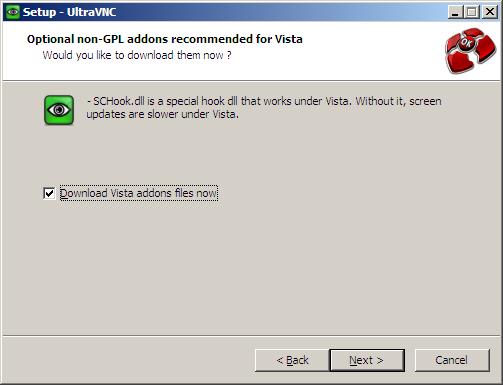
| 8) Make sure the "Download Vista addons files now" is selected and click Next. |
 |
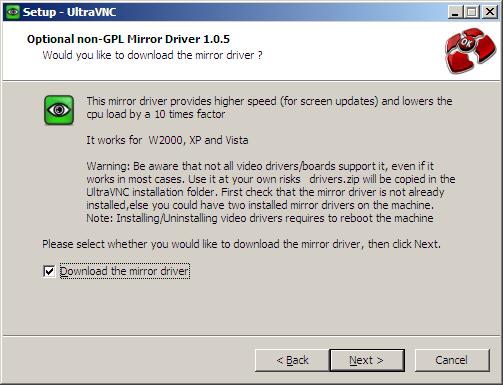
| 9) Make sure the "Download the mirror driver" is selected and click Next. |
 |
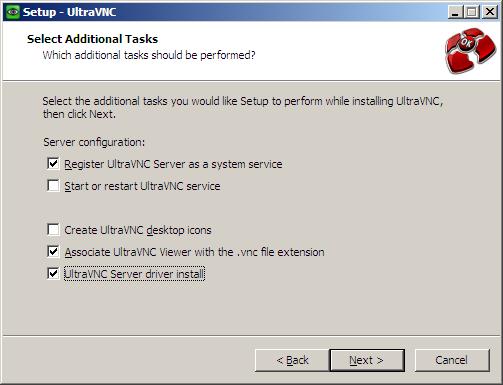
| 10) Select "Register UltraVNC Server...", "Associate UltraVNC..." and "UltraVNC Server driver install" is selected and click Next. |
 |
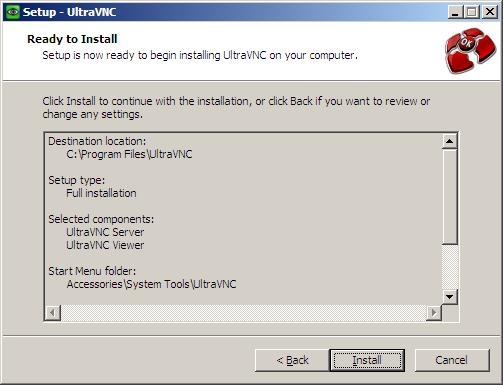
| 11) UltraVNC is ready, so click the Install button. |
 |
| 12) You'll see UltraVNC installing and it will look something like the example picture. |
 |
| 13) This window may appear first, but ignore it until you take care of the next steps. |
 |
14) The UltraVNC Server Property Page should appear. The changes to make here are:
a) In the Incoming Connections frame, click on the option Display and in the textbox to the right, change the 0 to a 1
b) In the Authentication frame, change the VNC Password and View-Only Password to be 2 completely different passwords.
Important! Remember
these 2 passwords!! They are necessary in order to access your PC remotely and should be secure enough that no one should be able to guess them.
It is important that the 2 passwords be different because if they are the same, UltraVNC won't work correctly! |
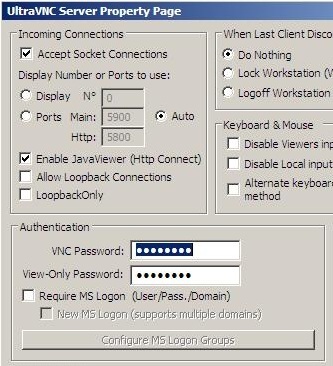 |
| 15) The UltraVNC Server Property Page should now look like the example picture. Now click Ok. |
 |
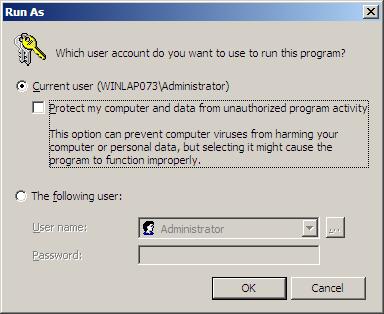
| 16) On Windows XP, the Run As windows may appear. If so, Uncheck the "Protect my computer and data from unauthorized program activity"
and click Ok. |
 |
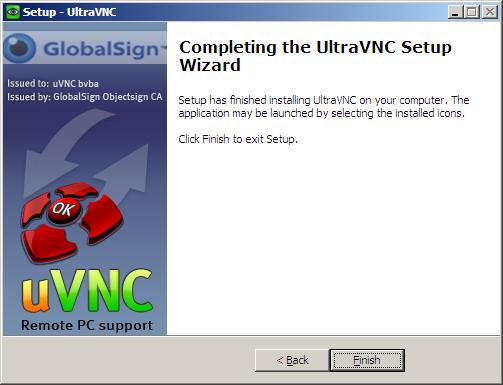
| 17) You should now see the window like the one in Step #13. Click next and you should see the final install window. Click Finish. |
 |
Now we just need to make a few changes to make UltraVNC work.
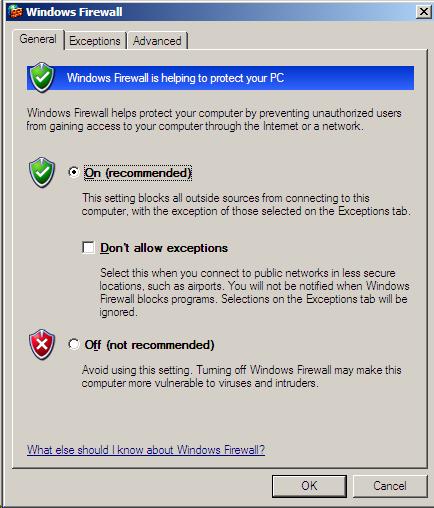
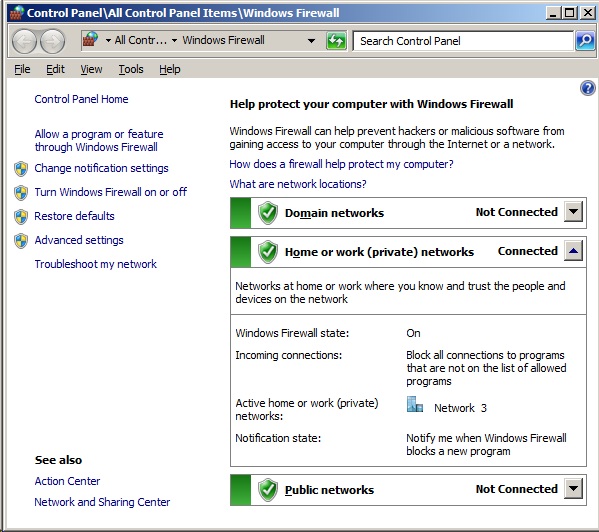
| 1) We need to change the settings for the firewall to allow UltraVNC to be accessed. My instructions assume that the standard Windows Firewall
is being used and not some other one. Many Anti-Viruses come packaged in a suite and may include a Firewall app. Changing the
settings for a particular firewall should be similar to the standard Windows Firewall, but you may need to research how to do this on your own. |
2) To open the Windows Firewall settings, press and hold the <Windows> key and then press the <R> key to get the Run window. Now type in
firewall.cpl
and click Ok. For XP, click on the Exceptions tab. For Vista/7, click on the "Allow a program or feature through Windows Fireall" link. |
 |
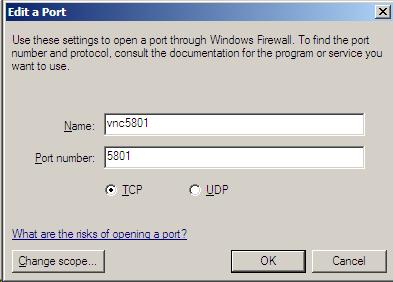
3) Now we want to change the default ports of 5800 and 5900 to 5801 and 5901, respectively.
The picture uses the XP Firewall settings, but the Vista/7
windows is similar. You might have to scroll down to get to the ports, but click on the 5800 port setting and click the Edit button in XP or the Details button
in Vista/7. |
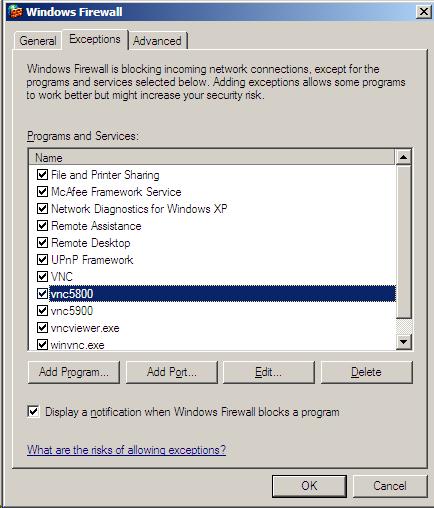 |
| 4) Change both instances of 5800 to 5801 and click Ok. Do this again for the 5900 port setting, changing it from 5900 to 5901. Then close the
Firewall window. |
 |
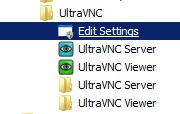
| 5) From the Start Menu, go to the UltraVNC folder, which if you changed the location to my recommended setting in Step 7, it should
be in the Programs\Accessories\System Tools\UltraVNC folder. Click on the Edit Settings item. |
 |
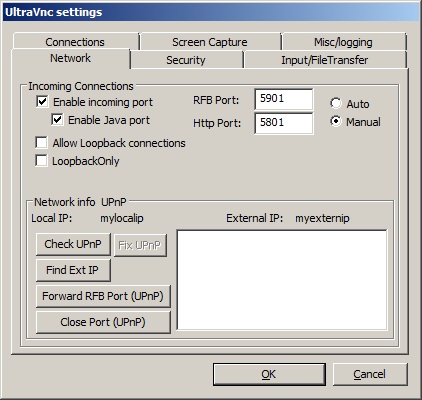
| 6) You should see the UltraVNC settings similar to the example picture. Check to make sure the ports are 5801 and 5901. Then click
on the Screen Capture tab. |
 |
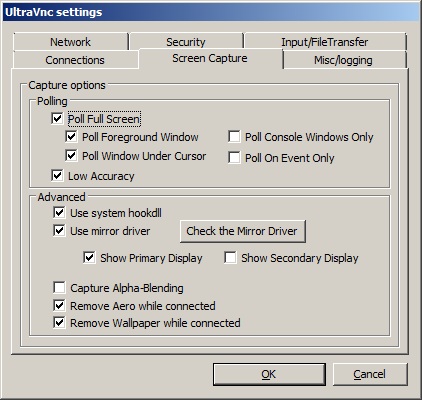
7) Under the Polling frame, enable "Poll Full Screen", "Poll Foreground Window" and "Poll Window Under Cursor"
Under the Advanced frame, enable "Use system hookdll" and "Use mirror driver".
It should now look like the example picture. |
 |
| 8) Click the Ok button to close the window. UltraVNC is now ready, but you should reboot the PC to make sure all is working correctly. |
Since most people have a router at home, this acts like a firewall, and anyone trying to VNC into your home PC will not be able to do so without reconfiguring your router to allow
this. But, with UltraVNC, you can easily force a remote connection to someone else who has setup VNC to listen for such connections.
| 1) Confirm ahead of time that the tech that is to help you is ready for your remote desktop connection. He or she should tell you to make
the connection and provide you with an IP address. |
| 2) Look for the UltraVNC icon in the System tray, usually located in the lower right corner of the desktop. It has a blue background with in eye in the
middle. Right-click on the VNC icon and from the menu, choose Add New Client. |
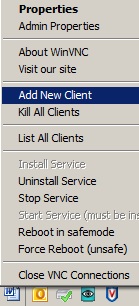 |
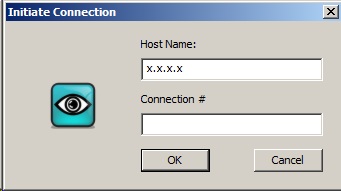
| 3) You should see the Initiate Connection window. Enter the IP address in the Host Name box. (This will be provided by the tech who is helping
you.) Then click Ok |
 |
| 4) If the connection is made, the background color of the VNC icon in the System tray (lower right corner) should have changed from blue to yellow and the tech
should be able to control your PC. This is also good for security to let you know when there is a remote connection. If you need to disconnect
a session, you can right-click on the VNC icon in the System Tray and choose Kill All Clients to shut it down. |
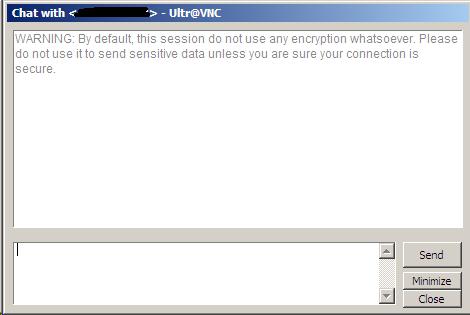
| 5) If you see the following Chat window, then the tech may want to communicate with you. If you are not familiar with chatting, use the lower box to type
your replies and click the Send button to send it. |
 |
That all for now.